Category: Hair & Makeup
-
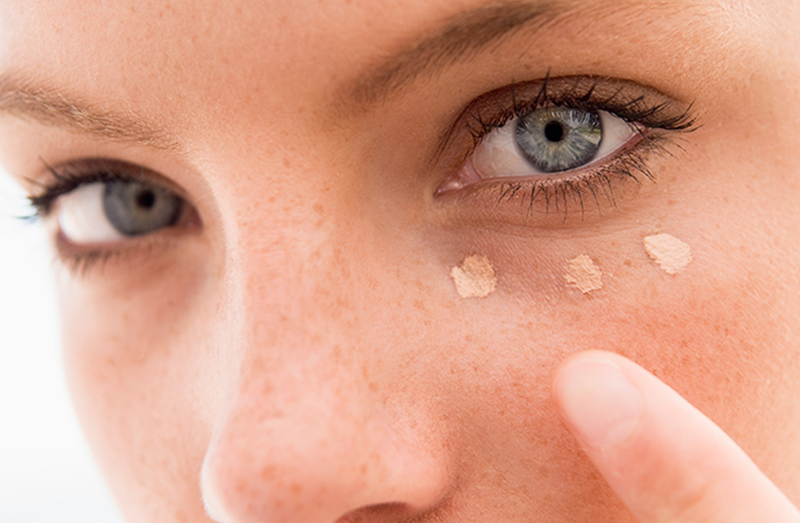
3 Secrets for Using Concealer
3 Secrets for Using Concealer Whether you’re dealing with dark circles around the eyes, pimples or other facial imperfections, concealer can be a tremendously useful product. Of course, as with any type of makeup, there’s certainly an art to using it correctly. Apply it in the wrong place or in the incorrect manner, and you…
-
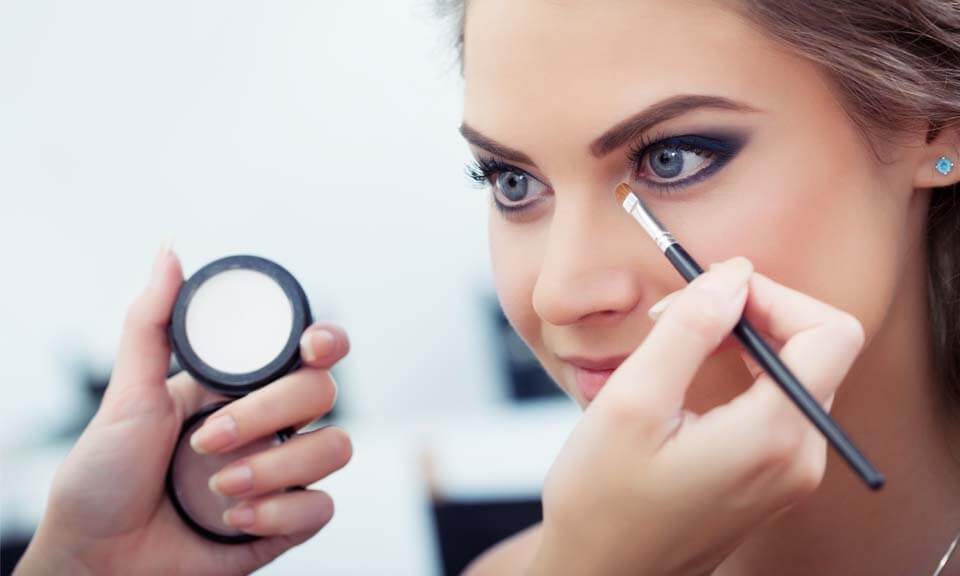
4 lessons everyone should know about makeup
When your makeup goes on right, you will be on cloud nine, but there are days that putting on your liquid liner can take forever. Here are a few tips to help you get your makeup right; every time. Invest in great tools – Expensive makeup brushes are well worth the cost as they will…
-
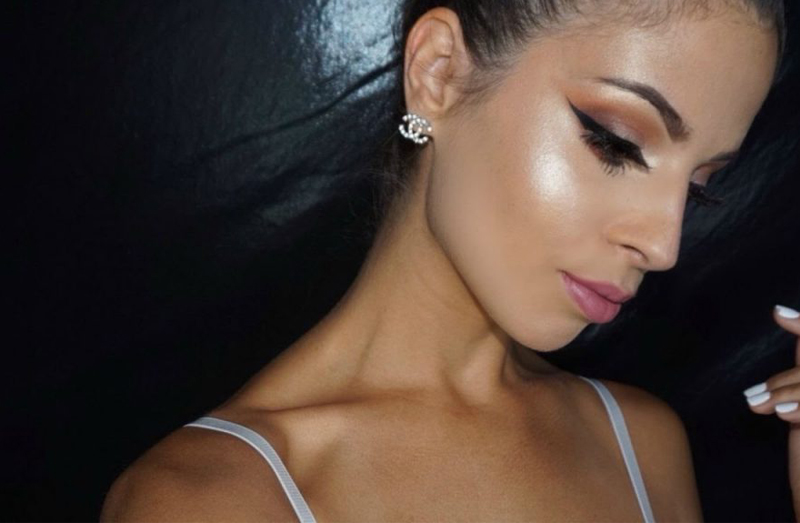
Makeup Tip: Why “Nontouring” is Better Than Contouring
Article by Herb Kimble. Move over contouring, there’s something new in the makeup world. It’s called strobing—or “nontouring,” and it’s pretty much the alter ego of the face-thinning contouring trend. A hot makeup trend of the last few years, contouring involves using darker foundations or concealer on the chin, neck, and areas close to the…
-
10 secrets to long, thick, shiny hair
We all know that hair takes a long time to grow, but if you want to jump start the process here are some simple tips that will help you grow your hair faster. Go sulfate free – Choose a sulfate free shampoo formula as it contains less harsh chemicals that will help preserve your hair’s…
-

6 Tricks that will make your hair look fuller and thicker
If you have hair that often looks limp and lifeless, here are 6 tricks that will give your hair a serious boost that will last throughout the entire day. Use an egg-size amount of mousse – Mousse is a great way to add volume. Avoid the crunchy feel of mousse by applying it on wet…
-

Five Summer Hair Treatments
Sun exposure over the summer, can leave your hair looking dull and dry. Adding a treatment to your hair routine will help to smooth and soften your strands, making them manageable and easy to style. Palmer’s Coconut Formula Deep Conditioning Protein Pack – This is a good quality product that comes in single use treatment…
-

Four easy care haircuts
Everyone wants a haircut that looks good even after you have left the salon. However, most of us invest in hair cuts that are difficult to maintain and at times costly. Here are 4 haircuts that are easy to take care of. Chin length tapered bob (for straight hair) – This style is professional yet…