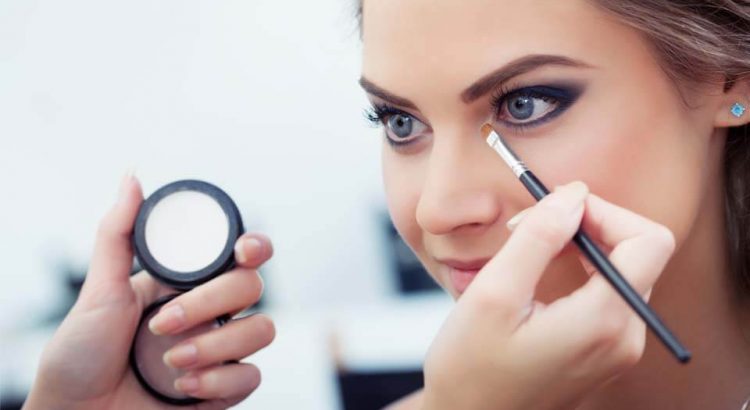
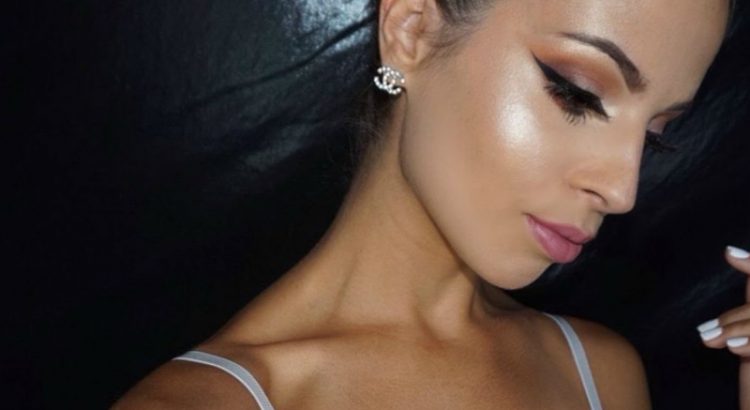
Office Makeup that is polished and professional

The corporate environment can be challenging, and therefore it is essential that women look competent and professional to move up the corporate ladder. Here are some simple makeup tips that will help you look your best at work.

Long lasting – If you work a nine to five job, you will have little to no time to retouch your makeup during a busy workday. Invest in makeup that is long lasting yet gentle for everyday wear.

Low-Maintenance and easy – Most women will have about 30 minutes to get ready and get out the door. Look at a makeup look that is simple, and one that can be completed in 10 minutes or less.

Should enhance – You want makeup to improve what you have and not make you look like someone else. Therefore mimic looks that are subtle but those that enhance your natural features.

Don’t distract – Avoid wearing makeup that is distracting, like hot pink lipstick or a bold eyeshadow. You want your colleagues to take you seriously and to listen to what you are saying and not be distracted by your makeup choices.

Comfortable and polished – The makeup you wear should make you feel like you are not wearing any makeup, yet make you feel amazing.

What you should invest in – Invest in an eyeshadow palette that is neutral and one that includes a few shades that can be mixed and matched. When looking for a foundation and concealer look at one that is long lasting, includes SPF protection and one that matches your skin tone perfectly. A good mascara that doesn’t run is a good investment, coupled with a lipstick and lip liner that is slightly darker than your natural lip color.
 

3 Secrets for Using Concealer

3 Secrets for Using Concealer

Whether you’re dealing with dark circles around the eyes, pimples or other facial imperfections, concealer can be a tremendously useful product. Of course, as with any type of makeup, there’s certainly an art to using it correctly. Apply it in the wrong place or in the incorrect manner, and you can actually make the concealer itself stand out more than the blemish did. When you get it right, though, the results can be flawless perfection.

Luckily, it only takes a few tips and tricks to become a concealer-applying pro. We spoke with the skincare and beauty researchers at Adore Cosmetics and had them share their concealer secrets with us.

#1 Try a Triangle
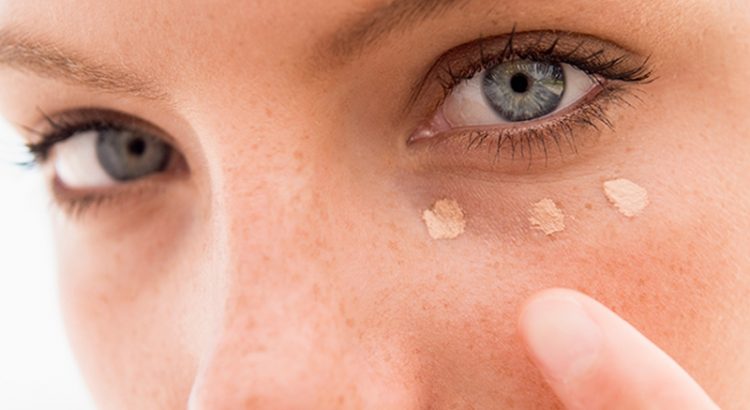
One of concealer’s most valuable uses is as a method for hiding dark circles and lines under the eyes. However, many people address this problem with a simple swipe of concealer right underneath the lower eye lid. Instead, a better approach is to use concealer to make a full triangle beneath the eye, with the point facing down. This approach draws attention to the eyes and also makes the face appear lifted. In addition, this larger coverage area is easier to blend out seamlessly into the rest of the face.

#2 Go Green
When it comes to concealing pimples, it can go one of two ways: Either you use so much that the concealer becomes more visible than the pimple was, or you use not enough, and you can still see the pimple. To conceal pimples correctly, start with a green concealer that counteracts the red of the pimple. Then follow up with a skin-tone liquid concealer to mask the green and blend it seamlessly with the surrounding skin.

#3 Address Under-Eye Circles
A lot of the trick with using concealer correctly is matching the color to the problem. When it comes to under-eye circles, they’re often blue, so a peach or orange concealer is the correct contrasting color to use. Another tip for under-eye circles is to apply the concealer with your ring finger rather than your index finger. Since the ring finger is weaker, it’ll put down a lighter swipe of concealer that’ll be easier to blend with the rest of your face.


4 lessons everyone should know about makeup

When your makeup goes on right, you will be on cloud nine, but there are days that putting on your liquid liner can take forever. Here are a few tips to help you get your makeup right; every time.

Invest in great tools – Expensive makeup brushes are well worth the cost as they will help you apply your makeup better. Here are the eight brushes you will need; Foundation brush, Concealer brush, Fluffy powder brush, Blush brush, Small blending brush, Flat eyeshadow brush, Precision angle brush and a Lip brush. Not only will your makeup glide on smoothly, but you will also use less makeup.

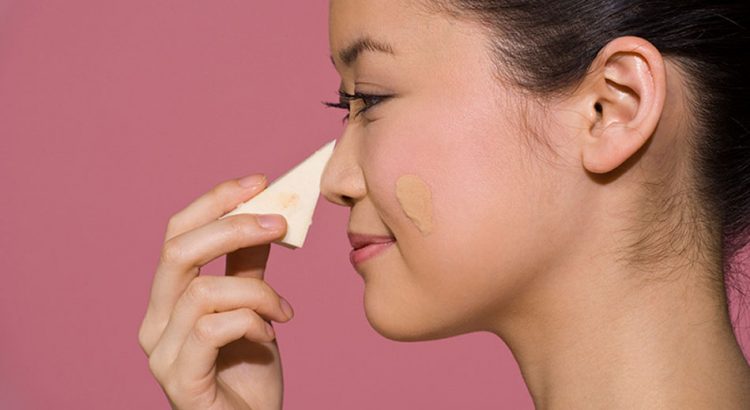
Mix primer with your foundation – If simplicity is key, look at mixing your foundation and primer to ensure you have a more natural look that still covers your imperfections. If you have oily skin, look at using a damp sponge to apply your foundation. The damp brush will apply less oil from the foundation on to your skin, making your skin less oily.

Conceal your flaws – If you want to conceal your flaws like acne, redness or dark circles look at applying opposite colors to the areas you want to change. For example, for redness look at green concealer and for dark circles look at orange concealer.

Flatter your face shape – Learn how to contour your face to enhance its shape and features. As a rule, remember that anything lighter in an area will make it more prominent and anything darker will make that area recede.


Makeup Tip: Why “Nontouring” is Better Than Contouring

Article by Herb Kimble.

Move over contouring, there’s something new in the makeup world. It’s called strobing—or “nontouring,” and it’s pretty much the alter ego of the face-thinning contouring trend.

A hot makeup trend of the last few years, contouring involves using darker foundations or concealer on the chin, neck, and areas close to the hairline, and lighter-colored foundations on the cheeks, nose, forehead, and areas where light hits in order to make the face look lean.

Strobing, on the other hand, promotes a younger look by highlighting the tops of the cheeks and inner corners of the eyes. Strobing gives a soft, dewy appearance to make a person look younger.

Here are some additional advantages of nontouring:

Compared to contouring, it’s a simple technique. To strobe, apply a primer followed by a light, dewy foundation or tinted moisturizer and concealer on areas where you need coverage. Then apply highlighter to the tip of your hose, the tops of your cheeks, and your brow bone. Whala—you’re ready to roll.

It’s quicker. When done correctly, contouring can take 30 minutes or more. You can nontour in just a few minutes or less.

It’s cheaper. Contouring involves using a few different shades of foundation to create a more chiseled look. This requires a person to invest in multiple bottles, which adds up.

It’s a more natural look. Because contouring involves several different shades of foundation, it can result in a “made up” appearance. Nontouring, on the other hand, promotes a soft, radiant glow.